Integrating the flask microframework with the peewee ORM

I'd like to write a post about a project I've been working on for the past month or so. I've had a great time working on it and am excited to start putting it to use. The project is called flask-peewee -- it is a set of utilities that bridges the python microframework flask and the lightweight ORM peewee. It is packaged as a flask extension and comes with the following batteries included:
- Admin interface a-la django
- RESTful API toolkit a-la tastypie
- Authentication system
The documentation provides in-depth explanations on the usage of these features, but if you are already familiar with django things shouldn't look too strange. The purpose of this post will be to highlight the main features of the project and discuss a little bit about their implementation.
Admin interface
Users of the django framework often say how valuable the admin interface is. It is, for many site managers, their primary means of interacting with django-powered sites, and for developers it is great for rapid prototyping. Considering this, one of the first things that bit me when I started working with flask was that there was no admin interface. Several times I've stopped a project before it even got very far and switched to django just because I wanted the admin interface.
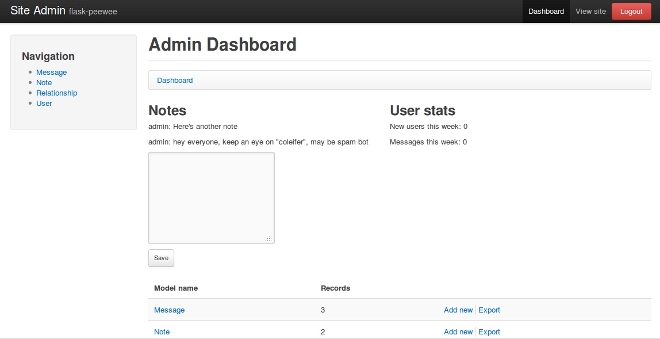
So, to scratch that itch I wrote an admin interface that borrows many concepts from django. It looks like this:
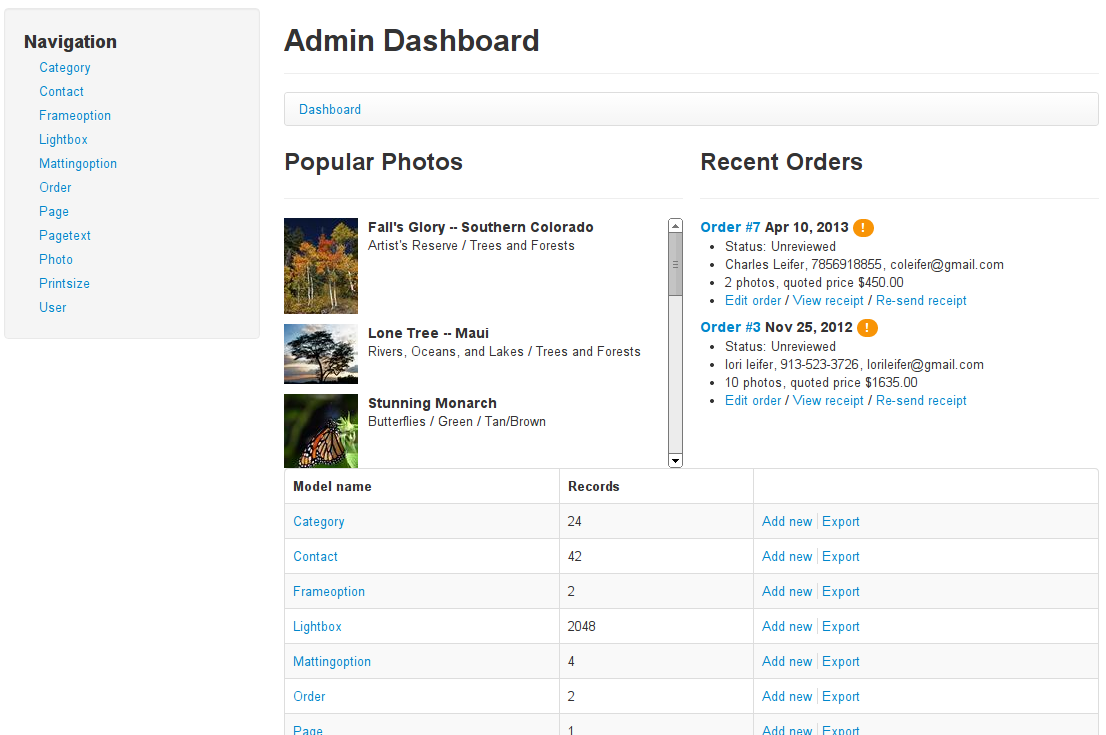
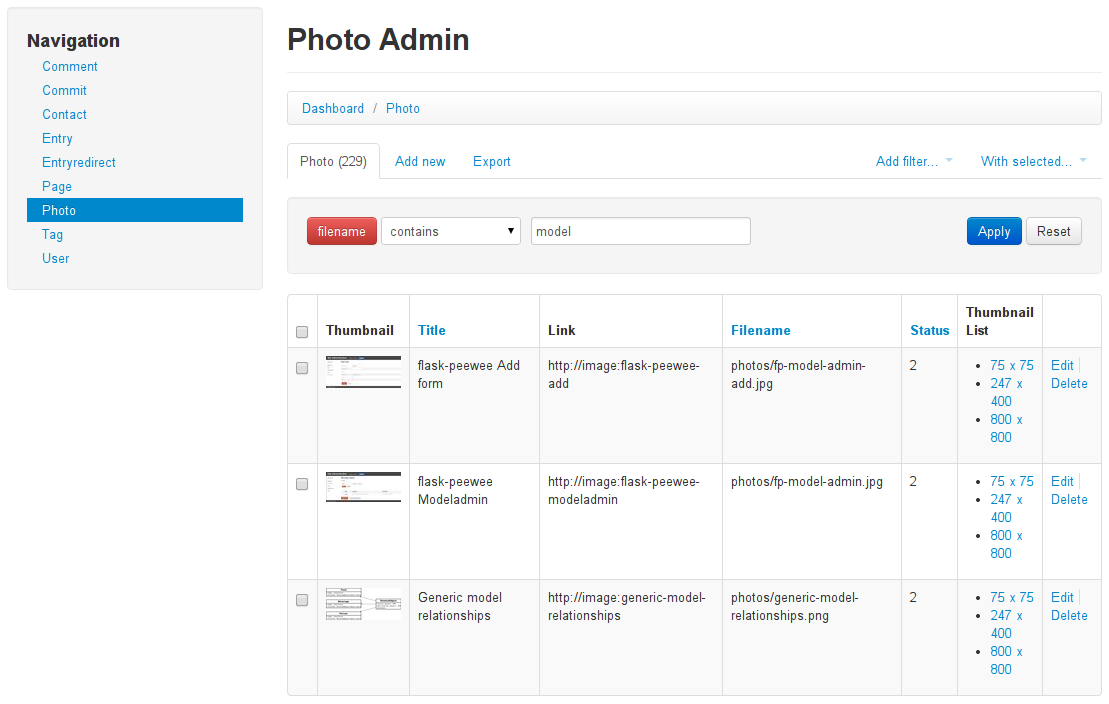
What you are looking at is the dashboard view, which by default is at /admin/. The screenshot shows two Panels, one which allows administrators to write "Notes", and another which shows some stats on signups. Below the panels is a list of models. Clicking on the "Message" link will take you to a ModelAdmin page, where you can filter/edit/add/delete instances of the the model. It looks like this:
To code up something like this, you would create a flask app (which is roughly analagous to a django project). All of this code is taken from the example app, so feel free to refer there for the complete source code.
from flask import Flask

# create a flask app
app = Flask(__name__)

# load app configuration
app.config.from_object('config.Configuration')
We need to tell our models how to connect to the database, so we'll use the flask-peewee database wrapper.
from flaskext.db import Database

# initialize the db wrapper, passing it a reference to our flask app
db = Database(app)
The database wrapper sets up connections when requests are started and closes them when the request finishes. It also provides a base model class which interacts with the database specified by the app's configuration.
Now we can start coding up the models:
from peewee import *

# assume the other project models, such as "User" are defined right here

class Message(db.Model):
    user = ForeignKeyField(User)
    content = TextField()
    pub_date = DateTimeField(default=datetime.datetime.now)

    def __unicode__(self):
        return '%s: %s' % (self.user, self.content)
In order to protect the admin area, we need to configure some authentication. The auth system works with a "User" model and provides utilities for detecting the logged-in user, marking areas as "login-required", as well as configuring login/logout views.
from flaskext.auth import Auth

# initialize the auth layer, passing in a User model
auth = Auth(app, db, user_model=User)
Lastly, we create our admin. The process should look familiar if you've used the django framework:
from flaskext.admin import Admin, ModelAdmin

# initialize the admin layer, passing in a reference to our app and
# the auth object we're using
admin = Admin(app, auth)

class MessageAdmin(ModelAdmin):
    columns = ('user', 'content', 'pub_date',)

admin.register(Message, MessageAdmin)
Under-the-hood, the "auth" and "admin" objects create flask blueprints. A blueprint describes a component of a website and can be bound to a specific url prefix, like /admin/ or /accounts/. Blueprints can specify their own templates and static media, as well, and are great for encapsulating functionality you wish to reuse across projects.
For more examples, check out the example app or the admin documentation.
Rest API
flask-peewee also comes with tools for exposing your app's models via a RESTful API. For each model you register with the API, you will get the following urls:
- /api/{model}/: GET and POST
- /api/{model}/{primary key}/: GET, PUT and DELETE
The process is very similar to the one we followed for setting up the admin, but the individual components are subtly different. The main difference is that, rather than specifying a "global" authentication method (as we did for the admin), we can compose different types of authentication with individual models exposed by the API. An example of this would be:
- users should be able to POST new messages and edit their own existing messages, but should not be able to alter other users messages or masquerade as other users when posting.
- only site administrators should be able to modify User accounts via the admin
flask-peewee comes with a couple tools to simplify handling those use-cases. I'll show some code and hopefully it will become clear how the pieces work together.
First we create a "RestAPI" instance. This is the container for our API, much the same as the Admin object was the container for our admin interface. By default it will be bound to /api/:
from flaskext.rest import RestAPI

# instantiate an api wrapper, passing in a reference to our flask app
api = RestAPI(app)
By default, though, our API will not know how to authenticate requests so all POST/PUT/DELETE requests will fail with a 401 Unauthorized response. flask-peewee comes with a couple authentication backends, we'll use the UserAuthentication one as the default. This requires that incoming requests use HTTP basic auth with credentials matching a registered user of the site. Our code now looks like this:
from flaskext.rest import RestAPI, UserAuthentication, RestResource

# pass in a reference to our project's auth instance so it knows how to
# authenticate incoming requests
user_auth = UserAuthentication(auth)

# instantiate an api wrapper, passing in a reference to our flask app
api = RestAPI(app, default_auth=user_auth)

# register the message model, it will be exposed at /api/message/
api.register(Message, RestResource)
Recall the first bullet point about only allowing users to post and modify their own messages. flask-peewee comes with a special class that makes this a snap, RestrictOwnerResource. The RestrictOwnerResource is a subclass of RestResource which enforces that the requesting user be the "owner" of an object before modifying it:
from flaskext.rest import RestrictOwnerResource

class MessageResource(RestrictOwnerResource):
    owner_field = 'user'

api.register(Message, MessageResource)
Going back to the second bullet point about only allowing administrators to modify user objects via the API, there is a type of authentication that requires the authenticated user be a "site administrator". Here's what the implementation would look like:
from flaskext.rest import AdminAuthentication

admin_auth = AdminAuthentication(auth)

class UserResource(RestResource):
    exclude = ('password', 'email',)

api.register(User, UserResource, auth=admin_auth)
Finding out more
If you're interested in learning a bit more, check out the following links:
Here's a gist showing some simple blueprints using flask-peewee (pastebin, bookmarks, etc).
Thanks for reading!
Comments (5)
Charles Leifer | oct 04 2011, at 08:25am
Thanks, James -- looked over your comments on GitHub and will plan on implementing something more secure by the end of the day.
James | oct 04 2011, at 05:43am
This looks fantastic! I love parts of Django but I really like working in Flask so I'll definitely be following this.
One note: The auth (simple unsalted sha-1) is very very weak. I've raised an issue on the tracker with an example of something a little bit more secure.
Charlie | sep 27 2011, at 09:15pm
Hi, thanks for pointing this out! I have updated the source distribution and have checked that "pip install" is working.
Stanko | sep 27 2011, at 08:41pm
Hi, great work, I think you missing admin/static css files ?
Commenting has been closed.
templatesspot | oct 24 2011, at 01:44am
I love parts of Django but I really like working in Flask so I'll definitely be following this.